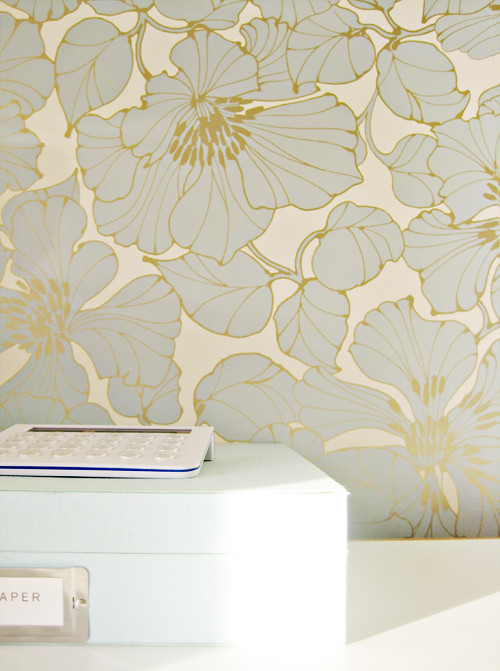
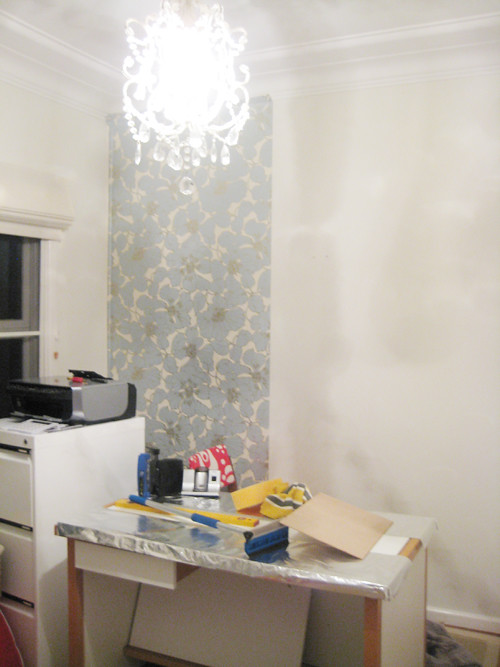
Thank you so much for your lovely comments on the wallpaper in my study! A few people wanted to see a step-by-step of the process so here it is. Please excuse the quality of the photos. My camera doesn't take very nice photos at night and I did work on this until quite late in the evening.
First I should start by saying that wallpaper hanging is not difficult but it is fiddly and it takes some practise and patience to do a good job of it so I suggest starting with small projects to get the hang of it before tackling larger jobs.
What you will need
Wallpaper
Tape measure
Level
Wallpaper paste
Pencil
Squeegie
Paint roller and tray
Small paint brush (to brush on extra glue if you didn't put enough or need to touch up areas)
Cutting knife
Bucket for paste
Wet sponge
Seam roller to smooth down the seams of the wallpaper (I didn't have one)
Ruler with a guard
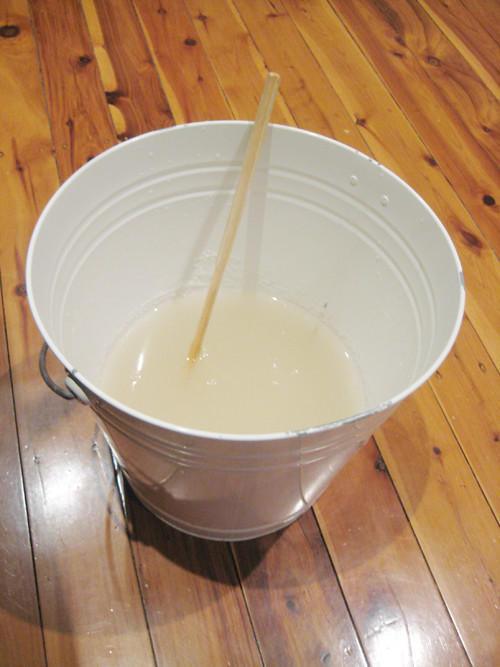
Step 1: Prepare the wallpaper paste
I did this step first because the wallpaper paste I purchased came in a powder form that you mix with cold water and leave to set for 30 minutes. I believe you can purchase preprepared wallpaper paste.
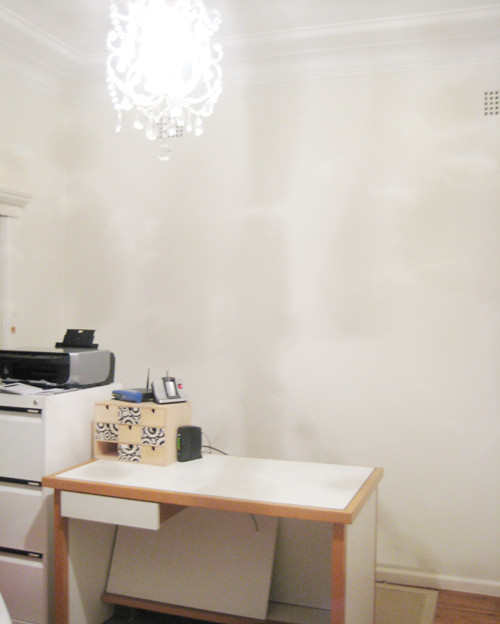
Step 2: Check your walls
Fill in any holes, remove power point covers or other things on the wall and clean with warm water.
Step 3: Mark the wall for the first strip
Measure the width of your wallpaper and subtract approximately 2 inches. Take this measurement and use your level and pencil to mark a line where your first strip will be hung on the wall from ceiling to floor. You want to have about 2 inches of extra paper on all sides of the wall to make hanging easier. You will cut these extra bits when you finish hanging.

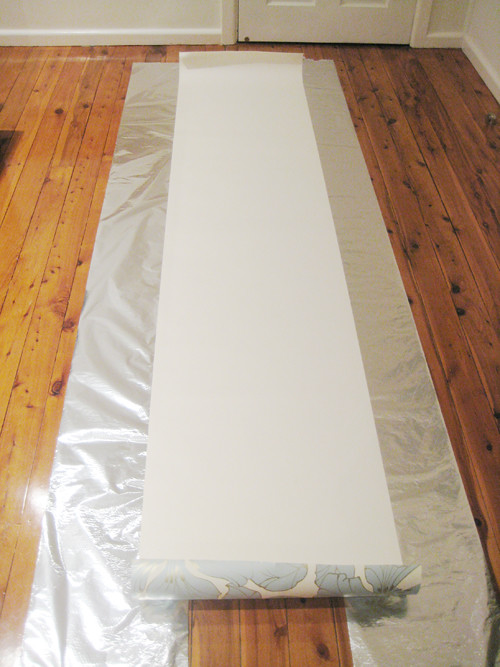
Step 4: Measure your paper
Measure the height of your wall. Lay down your first strip of paper and cut the length adding 2 inches to the top and bottom. Line up the pattern of your next strip and cut it as well adding 2 inches top and bottom. Repeat for all strips. I measured all strips first and numbered the back of the paper so that I could quickly tell which order they had to be hung in.
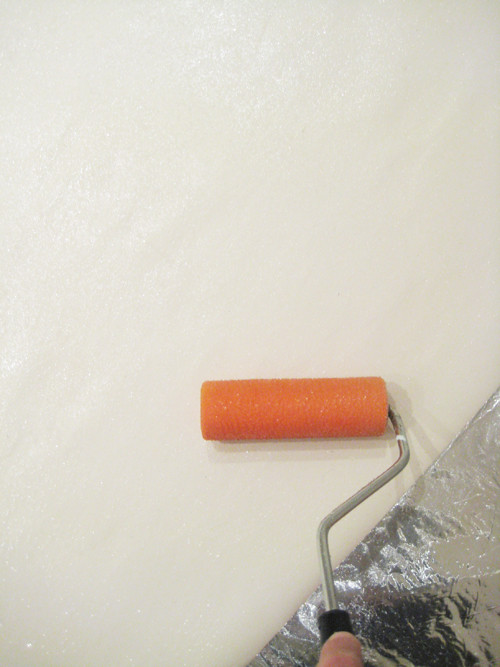
Step 5: Paste your paper
Lay your paper pattern side down and use a roller to paste the entire back of it with a thin layer of paste. There are some papers on the market that allow you to paste directly onto the wall so please check what kind of paper you have.
Step 6: Hang your paper
Line up your first strip with the pencil mark on the wall. Start from the top (leaving 2 inches extra from the top and side for the first strip) and smooth with your hand. As you work down from the top, check it still lines with the pencil mark and keep smoothing. Use a squeegie to remove any air bubbles as you work down. Keep working down to the bottom of the wall smoothing with your hand, then squeegie and so on to make sure you have removed all air bubbles.
Don't worry if glue seeps out the sides of the paper. You can wipe it off with a wet sponge (for most papers).
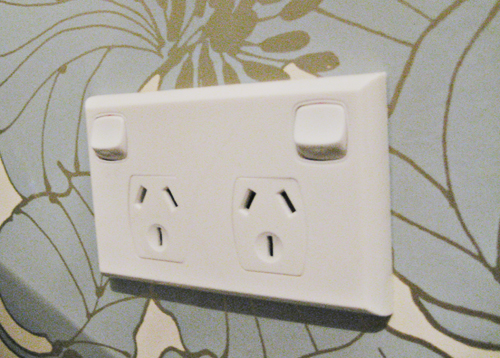
TIP: If there is a power point on the wall, switch the power off, remove the cover, lay the paper over it and cut out a hole to thread the power through. Then replace the cover again to hide the hole.
Step 7: Repeat Steps 5 & 6 for all strips
The trickiest part of this process I think is making sure the seam and patten lines up as close to each other as possible. It does take some practise so don't be afraid to lift part of the paper before it dries to re-do if it doesn't work the first time. Use your hand to slide the paper across, up, down to get it to line up as best as possible.
Step 8: Cut the edges
Wait until the paste dries a little otherwise you may rip the paper. Use a ruler with a guard and a utility knife and cut off the excess paper from all sides of the wall - top, bottom, left and right.
Step 9: You're done!

So that's what I did in a nutshell. I am not a professional hanger so if you have any suggestions for doing any of these steps better please feel free to leave it in the comments. There are lots of great videos around that I found helpful too.


