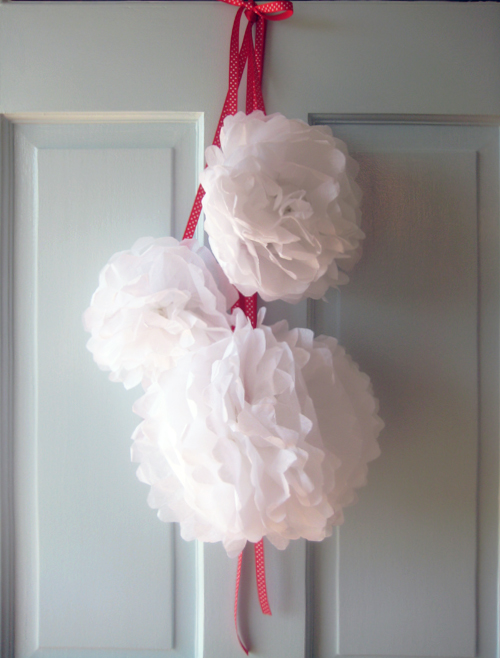
 I knew that I didn't want a traditional wreath for our brand new blue door so I adapted the Martha Stewart pom-pom tutorial to make a slightly different 'wreath'. It's not really a wreath I know but it is something decorative for our door and a little bit Christmas-y. A few people have asked me to post instructions for the projects I do. Sometimes I feel as though what I create is too simple to warrant step-by-step instructions but I promise I will provide more detailed posts in the New Year if you find them helpful.
Below are the instructions for the pom-pom 'wreath' if you would like to try it yourself.
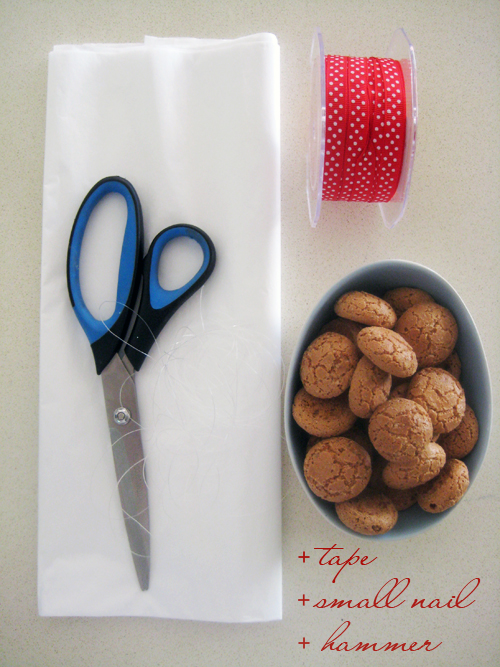 Materials:
Tissue paper
Ribbon
Scissors
Fishing wire (or floral wire but I didn't have any handy)
Tape
Nail & hammer
A bowl of biscuits to snack on
Instructions:
Steps 1-5 are very similar to Martha Stewart's instructions which can be found here.
1. Separate your tissue paper into 3 x 8 sheet piles. Cut the first pile so that it is 10 x 13 inches, the second 10 x 10 inches and the third 10 x 8 inches. This will make 3 pom-poms of different sizes.
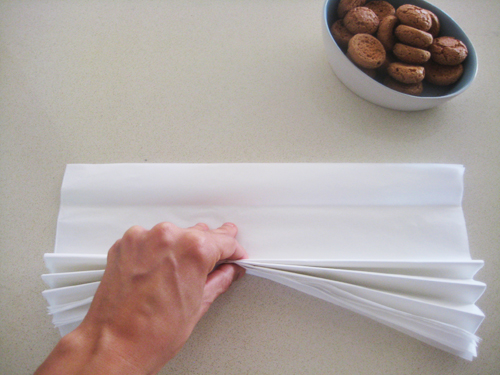 2. Lay the tissue paper so that the 10 inch sides are the left and right sides of the paper when laid out in front of you (hope that makes sense!). Start with the first pom-pom and make 1 inch accordian folds.
 3. Wrap fishing wire or floral wire around the middle of the stack of folds and secure. Leave the two lengths of fishing wire. You will need them to secure the ribbon to the pom-poms later.
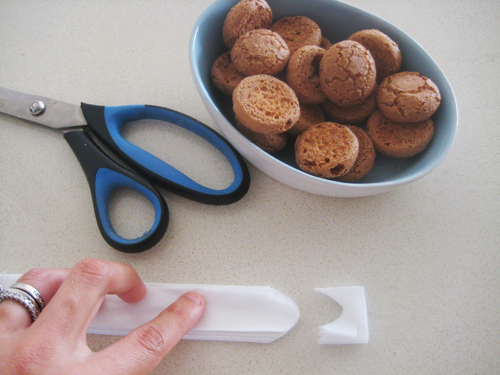 4. With scissors trim the edges of the tissue into rounded shapes.
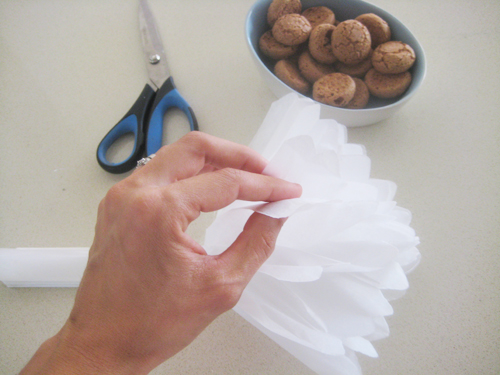
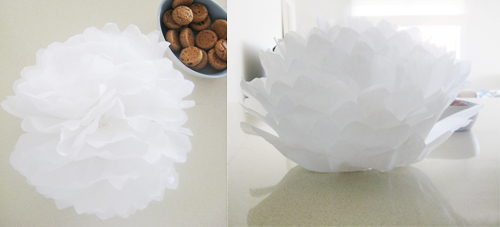 5. Separate each layer carefully (they are really easy to tear) towards you. The back of the pom-pom can be left flat or you can make your pom-poms round all the way around if you prefer. I left mine flat so that they look more like flowers and sit flat against the door.
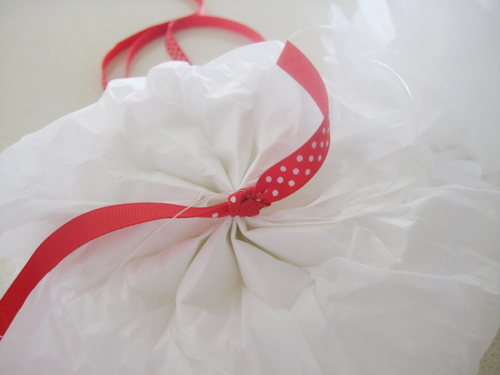 6. Cut a long length of ribbon (about 50 inches or more depending on whether you want long strands hanging on your final wreath or not). Tie the fishing wire that is already secured to the pom-pom around one end of the ribbon leaving enough length (about 8 inches) so that a little bit of ribbon can hang below the pom-pom. Tie the ribbon into a double knot or bow to secure.
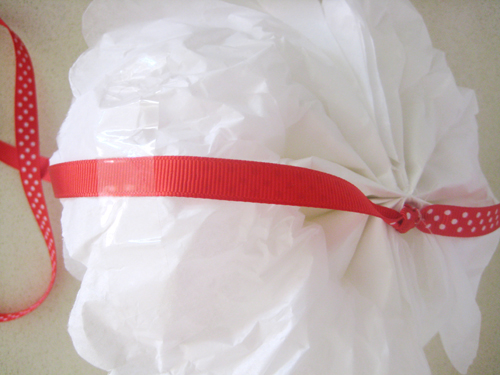 7. Tape the the longer length of the ribbon to the top part of the pom-pom so that the pom-pom sits upright when hanging. Don't worry if you can see the ribbon through the paper. You can fluff up your pom-pom afterwards to hide it.
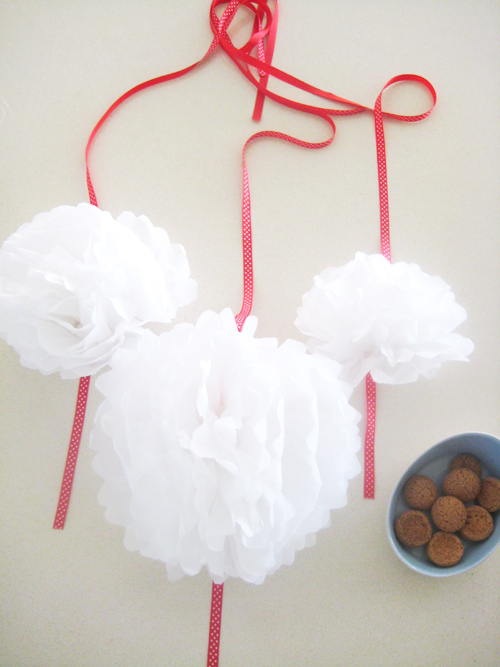 8. Repeat steps 2-7 for the remaining two pom-poms.
 9. Arrange the pom-poms on the table so that they are staggered and tie the three ribbons together into a knot.
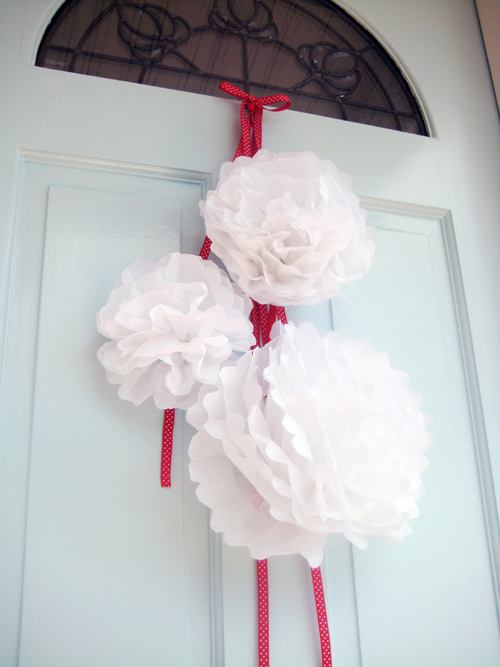 10. Hammer a small nail into your door and hang or secure the pom-poms to your door in another way if you don't want to make a hole. Optional: Roll a piece of tape and secure each pom-pom to the door if you don't want them to blow in the wind. Tie a bow at the top and enjoy your creation! Don't forget to eat any remaining biscuits.
Do you like this tutorial? I would love to know what you think. Please feel free to leave me a comment below.
P.S: I really hope the measurements are correct. I was enjoying my biscuits way too much and forgot to take a few measurements so please consider them estimates.
P.P.S: This 'wreath' is only suitable if you door is under an awning or cover and won't be affected by wet weather, otherwise rain + paper = a soggy mess.


